The cheapest methods for leveling a concrete slab include mudjacking, which lifts the slab using a cement-based slurry, and grinding to remove minor high spots. Polyurethane foam injection can also be cost-effective for small areas. These options are significantly less expensive than tearing out and replacing the entire slab.
Why Your Concrete Slab Needs Leveling
Before we jump into solutions, let's talk about why concrete becomes uneven in the first place. When you understand the problem, you can pick the right fix.
Common Causes of Uneven Concrete
Soil erosion happens when water washes away the ground beneath your slab. Rain, poor drainage, or leaky pipes can create empty spaces under the concrete. When nothing supports the slab from below, gravity pulls it down into those gaps.
Soil settling is another big reason. When builders first pour concrete, they compact the soil underneath. But over time, that soil keeps compacting naturally. Clay soil is especially tricky because it shrinks when dry and swells when wet, causing the concrete above to shift up and down.
Poor ground prep during the original pour can haunt you for years. If the contractor didn't compact the base properly or used the wrong materials, the concrete might sink within just a few years. Tree roots growing under your slab can also push sections up or create voids as they expand.
Signs You Need to Level Your Concrete
You'll know it's time to level when you see obvious height differences between slabs. Run your hand along the edges of your driveway or patio sections. If one piece sits a quarter-inch or more below its neighbor, that's a tripping hazard waiting to happen.
Water pooling after rain is a clear sign of an uneven surface. Your concrete should shed water naturally. If puddles stick around, the slab has dipped below the proper level. This standing water can seep into cracks and make the problem worse during freeze-thaw cycles.
Other warning signs include doors that stick, cracks that keep growing, and floors that feel bouncy or hollow when you walk on them. Some slabs even rock back and forth like a seesaw when you step on them.
Why Fixing Early Saves Money
Small problems grow into big ones when you wait. A tiny crack can spread into a major split. A small dip can become a deep sink. Fixing these issues early with a cheap method beats waiting until you need an expensive full replacement.
Water damage accelerates once cracks appear. Moisture seeps beneath the slab, washing away more soil and creating bigger voids. In cold climates, that water freezes and expands, making cracks wider each winter. What starts as a $500 repair can balloon into a $5,000 replacement if you ignore it long enough.
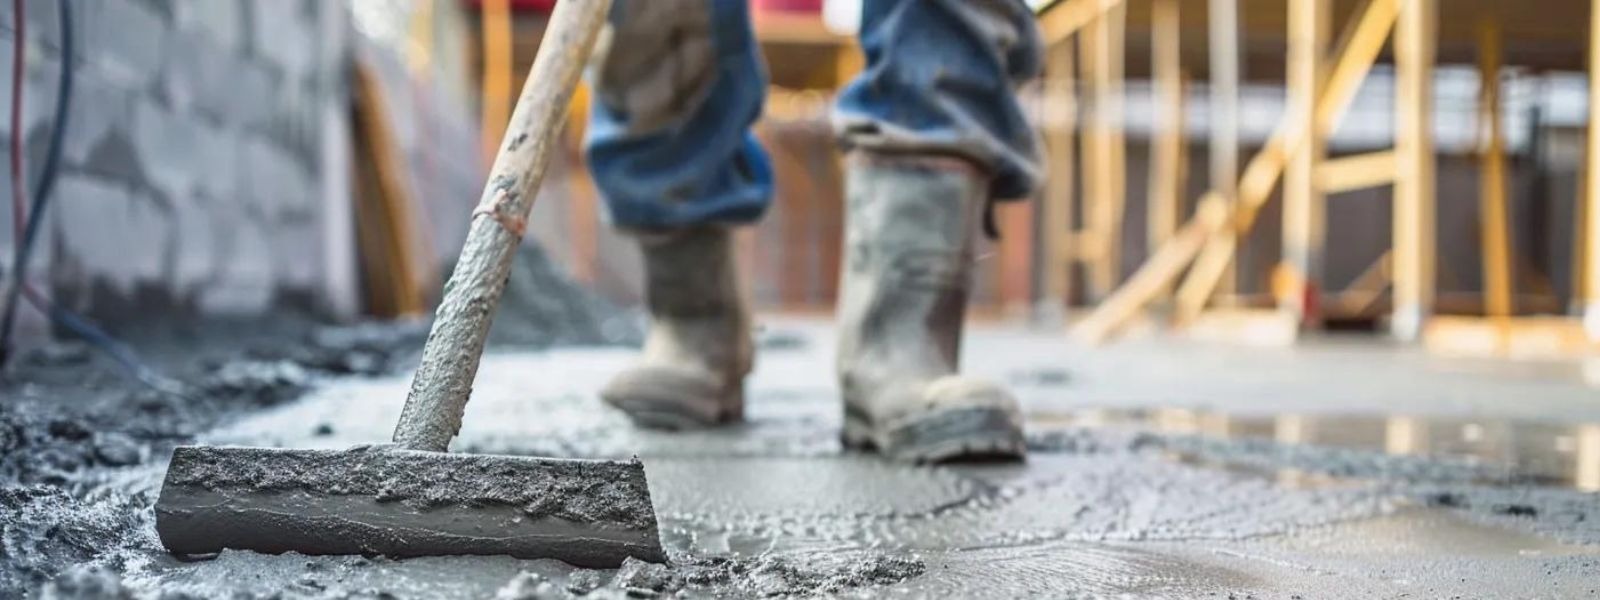
The 7 Cheapest Ways to Level Concrete
Let's explore your options from least to most expensive. Each method works best for specific situations, so pay attention to when you should use each one. We'll start with the most budget-friendly DIY solutions and work our way up to professional methods that cost more but deliver longer-lasting results. Understanding all your options helps you pick the perfect fix for your specific problem and budget.
Self-Leveling Compound: The DIY Champion
Self-leveling compound is your go-to for budget-friendly concrete fixes. This liquid cement mixture flows like thick pancake batter and settles into a perfectly flat surface on its own. A 50-pound bag costs around $35 and covers 12 to 15 square feet at half-inch thickness.
This works great for interior floors with minor dips and low spots. If your garage floor, basement, or outdoor entertaining area has settled less than one inch, self-leveling compound can smooth it out beautifully. It's perfect before installing new flooring like tile, vinyl, or carpet.
The compound only fixes surface problems though. If your slab sank because of voids underneath, the compound won't stop it from sinking more later. You need a lifting method for structural issues.
First, clean the concrete thoroughly. Sweep away all dust and dirt. Remove any loose pieces of old concrete. If there's paint, old adhesive, or sealer on the surface, you'll need to grind it off or the new compound won't stick properly.
Fill any large cracks with concrete filler before you start. One homeowner learned this the hard way when 2.5 gallons of self-leveling compound poured straight into an unsealed crack. Seal those gaps first or you'll waste a lot of product.
Apply primer next. Roll it on like paint and let it dry until it feels tacky to the touch. This helps the compound grab onto the old concrete. Prime according to the manufacturer's instructions, usually 2-4 hours before pouring.
Mix the compound with a drill and mixing paddle. Pour the water into a 5-gallon bucket first, then slowly add the powder while mixing. Work quickly because most compounds only give you 10-20 minutes before they start setting.
Pour and spread immediately. Start at the lowest spot and work toward the edges. Use a trowel or squeegee to help guide it into corners. The compound levels itself, but you can help it along. Pour it slightly thicker than needed because it will spread and thin out.
Keep extra bags on hand. You might need more than you think. It's better to have leftovers than run out mid-pour. Once you start, you must finish the whole area in one session or you'll get visible ridges where old and new meet.
For a 100-square-foot area at quarter-inch thickness, you'll need about three 50-pound bags. That's roughly $105 in materials. Add another $50 for primer, mixing tools, and crack filler. Total DIY cost runs $150-200 for 100 square feet, or $1.50-2 per square foot.
Professional installation costs $3 to $5 per square foot including labor. For that same 100-square-foot space, you'd pay $300 to $500 total. Pros work faster and can handle larger areas that need to be done all at once.
Concrete Patching Compound: For Small Fixes
Patching compound works best for tiny problem spots. This is what you grab when you have a few small cracks, chips, or shallow dips scattered across your concrete. It's basically concrete in a tube or small bucket, ready to fill minor imperfections.
Use this for cracks smaller than half an inch wide and dips less than a quarter inch deep. It's perfect for cosmetic repairs on walkways, steps, and garage floors where you just want to smooth out rough spots before painting or sealing.
A 10-pound tub of patching compound costs about $10-15. Some products come premixed, while others need water added. The premixed versions are easier but cost slightly more per pound.
Clean and prep the area just like you would for self-leveling compound. Remove loose material and make sure the surface is dust-free. Wet the old concrete with water or primer so it doesn't suck moisture out of the patch.
Mix the compound to a thick peanut butter consistency. Apply it with a trowel, pressing firmly to work it into the crack or hole. Smooth it flush with the surrounding concrete. Feather the edges so you don't create a noticeable bump.
Keep patches moist while they cure. Spray them lightly with water every few hours for the first day. This slow curing makes the patch stronger and prevents shrinkage cracks.
Don't use patching compound for structural repairs or areas with ongoing settling. If the concrete keeps cracking in the same spot, patching just covers up a bigger problem. You need to address why the concrete is failing, not just hide the symptoms.
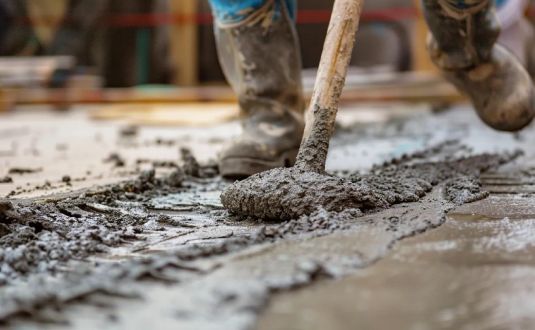
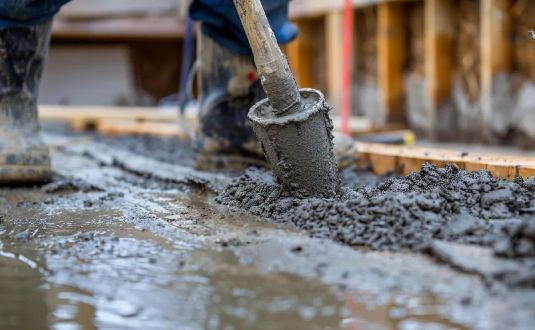
Mudjacking: Lifting Slabs the Old-School Way
Mudjacking has been around since the 1930s. Workers pump a thick mixture of cement, soil, sand, and water beneath your concrete slab. This heavy slurry fills voids and creates pressure that lifts the slab back to the right level.
A crew drills holes about 2 inches wide through your concrete. They space these holes strategically based on where the slab needs lifting. Then they pump the mud mixture through those holes using high-pressure equipment.
As the mud fills the empty space below, it pushes the concrete upward. The crew carefully monitors the lift, stopping when the slab reaches the correct height. After they finish, they patch the holes with fresh concrete.
Mudjacking typically costs $3 to $6 per square foot. For a 100-square-foot section, expect to pay $300-600. Most jobs take just a few hours, and you can use the concrete again within 24 hours.
The main advantage is cost. Mudjacking ranks as one of the cheapest professional leveling methods. It works well on vehicle surfaces, walkways, and outdoor living areas.
The mud mixture is heavy. It adds weight to soil that might already be weak, which can cause the slab to resettle years later. The large drill holes are also pretty obvious, even after patching.
Mudjacking works best as a temporary fix or in areas where appearance doesn't matter much. For a permanent solution or high-visibility areas, consider other options.
Stone Slurry Grout Leveling: The Goldilocks Option
Stone slurry grout uses crushed limestone mixed with water instead of soil and cement. This creates a more precise mixture that contractors can control better during lifting. The limestone is lighter than traditional mud but heavier than foam.
The crushed limestone mixture flows into voids more completely than chunky mudjacking mud. It's also locally sourced in most areas, which keeps costs down. The natural material is eco-friendly and won't contaminate groundwater.
Stone slurry allows for more accurate lifting. Crews can adjust the mixture thickness to match each job's specific needs. This precision means fewer callbacks and longer-lasting repairs.
Most homeowners pay between $500 and $1,500 for stone slurry grout leveling. This puts it in the middle range – more expensive than mudjacking but less than foam injection.
The method typically lasts longer than mudjacking because the limestone mixture compacts better and provides more stable support. You're paying a bit extra for durability and precision.
Grinding High Spots: The Flip Side Solution
Sometimes your concrete isn't too low – it's too high in certain spots. Grinding shaves down raised areas until everything sits at the same level. This method only works if most of your slab is at the right height and you just need to lower a few bumps.
Use grinding for small sections that are slightly higher than surrounding concrete. It works great for smoothing out trip hazards where one slab edge lifted due to tree roots or frost heave.
You can rent a concrete grinder from most tool rental shops for $50-100 per day. Handheld grinders work for small areas, while walk-behind models tackle larger spaces. Always wear a dust mask, safety glasses, and hearing protection.
Mark the high spots with chalk or a pencil. Use a straight edge to identify exactly where you need to grind. Work slowly and check your progress often. It's easy to grind too much, and you can't add material back.
The grinder creates massive amounts of dust. Work outside or in a well-ventilated space. Some grinders connect to vacuums that capture most of the dust. Clean up thoroughly when done.
You can typically only grind concrete once. Remove too much and you weaken the slab. This method also won't fix underlying problems like soil erosion. If the concrete keeps moving, grinding is just a temporary cosmetic fix.
Grinding costs about $3-8 per square foot if you hire a pro. DIY rental and materials run around $150-300 for a weekend project covering 200-300 square feet.
Polyurethane Foam Injection: Premium Performance
Polyurethane foam injection (also called polyjacking) is the newest leveling technology. Crews inject expanding foam beneath your slab through penny-sized holes. The foam expands rapidly, filling voids and lifting concrete with incredible precision.
The polyurethane comes as two separate chemicals. When mixed at the injection nozzle, they react and expand up to 10-15 times their original size. This expansion fills every gap and crack beneath the slab.
Because the foam is so light, it doesn't add weight to already compromised soil. It's also waterproof, so it won't wash away like mud can. The foam cures in about 15 minutes, so you can use the concrete almost immediately.
Foam injection runs $5 to $25 per square foot, making it the most expensive leveling option. That 100-square-foot section could cost $500-2,500.
Why so much? The materials are synthetic and manufactured through chemical processes, which costs more than natural materials like limestone. Plus the equipment is specialized and expensive to operate.
Despite the higher price, foam often makes sense for permanent repairs. It lasts longer than other methods because it's lightweight, waterproof, and won't break down over time. You save money long-term by avoiding repeat repairs.
Foam also works where other methods can't. It's perfect for lifting heavy garage floors, stabilizing pool areas, and raising concrete near your home's foundation. The small injection holes are barely visible after patching.
Sand and Cement Mix: Old-Fashioned and Cheap
Mixing your own sand and cement creates a leveling compound that costs next to nothing. This traditional method works for small DIY projects where you need to fill minor low spots without buying expensive products.
Combine one part Portland cement with three parts sand. Add water slowly until you get a thick, workable consistency. The mixture should hold its shape when squeezed but still spread with a trowel.
This costs about $0.30-0.60 per square foot for materials. A 50-pound bag of cement runs $8-12, and a bag of sand costs $5-8. You can cover a lot of ground for very little money.
Use sand and cement mix for exterior repairs where perfect smoothness doesn't matter. It works on shed floors, basement rough-ins, and areas that will be covered with tile or other flooring later.
The mix doesn't flow like self-leveling compound, so you need to trowel it smooth manually. Expect a rougher finish that shows trowel marks. For a smooth surface, consider spending the extra money on real self-leveling compound.
Always add powder to water, never water to powder. This prevents clumping. Mix small batches because the cement starts setting in 30-45 minutes. Keep unused mix covered to slow drying.
Wet the old concrete before applying your mix. This prevents the new material from drying too fast, which can cause weak spots and cracks.
DIY vs. Hiring Professionals
Deciding whether to tackle concrete leveling yourself or call in pros depends on several factors. Let's break down when each approach makes sense. Your skill level, the size of the project, and the type of problem all play a role in this decision. Some jobs are perfect for weekend warriors, while others absolutely need expert hands and specialized equipment.
When DIY Makes Sense
You can probably handle self-leveling compound and patching compound jobs yourself. These methods use simple materials that don't require special equipment. If you can follow directions on a bag and operate a drill with a mixing paddle, you've got the skills needed.
Small interior projects like garage floors, basement floors, or storage areas work great for DIY. The stakes are low – if something goes wrong, it's not visible to the whole neighborhood and you can always call a pro to fix it.
Budget-conscious homeowners often DIY to save on labor costs. Professional installation typically runs 2-3 times the material cost. On a 100-square-foot project, doing it yourself might save $200-400.
When to Call a Professional
Anything involving lifting settled slabs should go to professionals. Mudjacking, foam injection, and stone slurry all require specialized pumping equipment that costs thousands to purchase. Even renting this gear is tricky without training.
Professionals understand soil mechanics and know how much pressure to apply during lifting. Too little and the slab doesn't rise enough. Too much and you can crack the concrete or make it uneven in new places.
Large outdoor projects like vehicle paths and entertainment areas benefit from professional experience. These areas are highly visible and need to look right. Pros work faster and get better results.
Foundation work absolutely requires professionals. If your home's foundation has settled, attempting DIY repairs can create dangerous structural problems. Foundation issues need proper assessment and engineered solutions.
Questions to Ask Before Hiring
Get at least three estimates from different companies. Ask what method they recommend and why. A company pushing only foam injection might be steering you toward their highest-profit service when cheaper mudjacking would work fine.
Find out how long they've been in business and ask for recent references. Call those references and ask if the work held up over time. Check online reviews but take them with a grain of salt – happy customers rarely leave reviews while unhappy ones almost always do.
Verify insurance and licensing. Concrete work can damage property if done wrong. Make sure your contractor carries liability insurance that will cover any accidents or mistakes.
Ask about warranties. Good companies stand behind their work with guarantees that last at least 1-2 years. Some offer longer warranties on premium methods like foam injection.
Factors That Affect Leveling Costs
The price you'll pay depends on more than just the method you choose. Several factors can push your total cost up or down. Understanding these variables helps you get accurate estimates and avoid surprise charges. From the size of your project to where you live, each element changes the final number on your invoice.
Size and Scope of Damage
Bigger jobs cost more, but they often get better per-square-foot pricing. A contractor might charge $6 per square foot for a 100-square-foot job but drop to $4 per square foot for 500 square feet. The fixed costs (showing up, setting up equipment) get spread across more work.
Depth matters too. A slab that sank one inch needs less material to lift than one that dropped three inches. Deep voids require more pumping time and more product, increasing your cost.
Multiple scattered problem areas can cost more than one large section. Each spot requires setup time for drilling holes and moving equipment. Companies sometimes charge minimums of $300-700 per visit to cover these fixed costs.
Location and Access
If your concrete sits in an easy-to-reach spot near the street, great. But if a crew needs to haul equipment through a backyard gate, around a house, and across landscaping, expect higher labor charges.
Limited access prevents using large trucks and equipment. Workers might need to mix materials by hand or use smaller pumps. This takes longer and costs more.
Geographic location affects prices too. Labor and material costs vary widely by region. Urban areas with high living costs charge more than rural towns. Get local quotes to see what's normal in your area.
Existing Concrete Condition
Concrete with extensive cracks might need repair work before leveling. Some companies include crack sealing in their price, while others charge extra. Severely damaged concrete might not be worth leveling at all – replacement could be the smarter long-term investment.
If your concrete has old coatings, adhesive, or paint, removing these adds prep time and cost. The leveling material won't stick properly to contaminated surfaces.
Soil Conditions Below
The type of soil under your slab affects which methods work best and how long repairs last. Clay soil swells and shrinks with moisture changes, making it harder to get permanent results. Sandy soil drains well but doesn't compact solidly.
If the soil problem hasn't been fixed, your leveling might only last a few years before the concrete sinks again. Addressing drainage issues or soil stabilization costs extra upfront but prevents expensive repeat repairs.
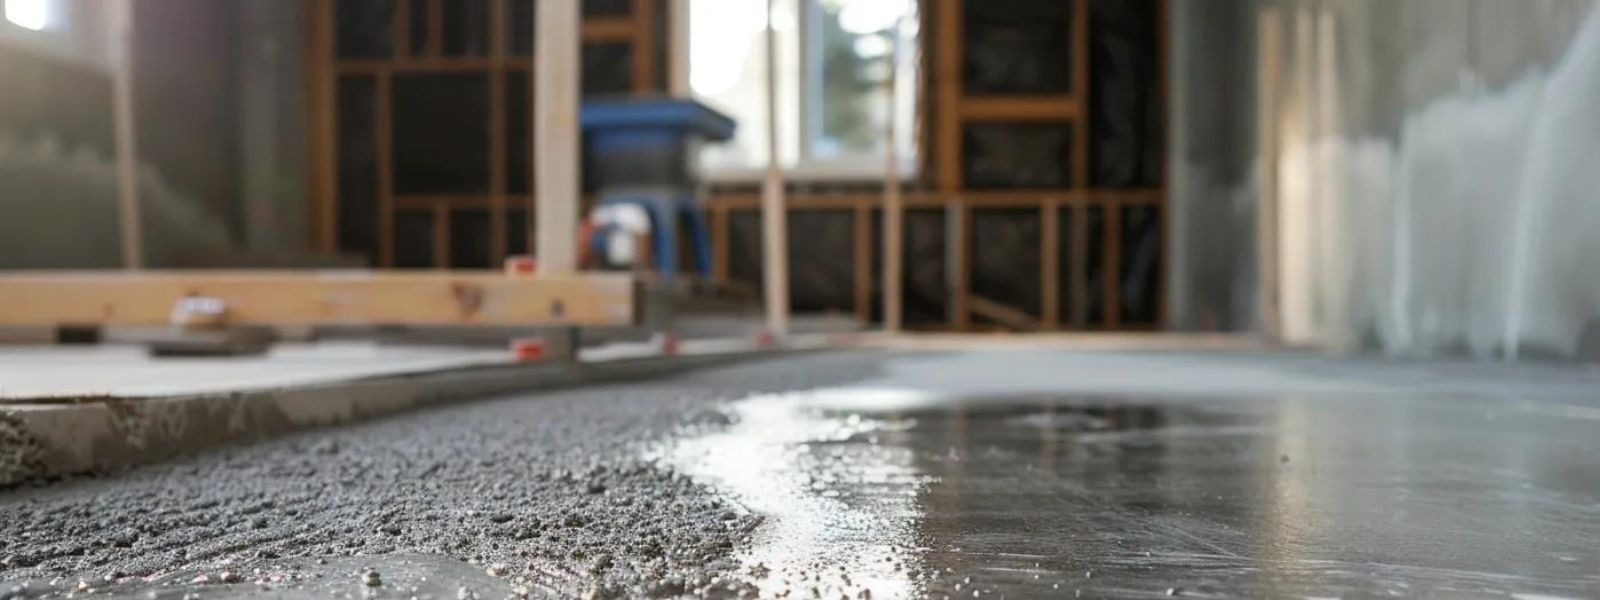
How to Prepare for Concrete Leveling
Proper preparation makes any leveling method work better and last longer. Here's how to set yourself up for success. Think of prep work as the foundation of your repair – skip these steps and even the best materials will fail. Taking time to prepare properly saves you money and headaches down the road.
Clean and Inspect Thoroughly
Start by sweeping away all loose dirt and debris. Use a stiff brush on stubborn spots. For greasy areas, apply a concrete degreaser and scrub well. Oil, grease, and chemicals prevent bonding.
Look for existing cracks and note their size and location. Mark areas that sound hollow when tapped with a hammer. Walk the entire surface and bounce a golf ball – listen for places where the sound changes pitch, indicating voids below.
Test moisture levels if you're doing interior work. Excess moisture in concrete can cause leveling compounds to fail months later. Hardware stores sell simple moisture meters, or you can use plastic sheeting taped down for 24 hours. If condensation forms underneath, your concrete is too wet and needs remediation first.
Fix Drainage Issues First
Water caused most of the problems with your concrete, so fix those issues before leveling. Otherwise, the same water will create new problems.
Check gutters and downspouts. Make sure they dump water at least 6 feet away from concrete slabs. Add extensions if needed. Fix any leaking outdoor faucets or irrigation lines.
Look at the grade around your concrete. Soil should slope away from slabs and buildings, not toward them. Regrade if necessary so water flows away naturally.
Consider installing a French drain or catch basin if water consistently pools near your concrete. These cost a few hundred dollars but prevent future settling worth thousands in repairs.
Plan for Curing Time
Different methods have different curing schedules. Self-leveling compound might be hard enough to walk on in a few hours but needs a full day before heavy use. Traditional concrete patches need several days.
Foam injection cures fastest at about 15 minutes. Mudjacking and stone slurry need 24-48 hours before driving on them.
Plan your project around the weather. Don't level concrete with rain in the forecast. Temperature extremes can affect curing – avoid work when it's below 50°F or above 90°F if possible.
Protect Surrounding Areas
Concrete leveling can get messy. Lay plastic sheeting or tarps around the work area to protect landscaping. If working indoors, cover walls and nearby items with plastic.
For outdoor work, mark the location of sprinkler lines, electrical cables, and other buried utilities. Most states offer free utility location services – call before any digging or drilling happens.
Move furniture, vehicles, and anything else off the concrete you're working on. Create clear access paths for materials and equipment.
Making Your Repair Last
You've invested time and money fixing your concrete. Now protect that investment with proper maintenance and smart choices. A good repair can last decades if you take care of it right. These simple steps keep your newly leveled concrete looking great and performing well for years to come.
Seal After Leveling
Once your newly leveled concrete has fully cured, apply a concrete sealer. This protective coating prevents water penetration, reduces staining, and extends the life of your repair.
Sealers come in two main types. Penetrating sealers soak into the concrete and protect from within. They don't change the appearance much. Film-forming sealers create a protective layer on top and usually add shine.
For outdoor surfaces, reapply sealer every 2-3 years. High-traffic areas might need sealing more often. This simple step dramatically extends concrete life.
Manage Water Properly
Water remains concrete's biggest enemy. Keep gutters clean so they don't overflow near concrete. Check that downspout extensions still direct water away from slabs.
Fill any new cracks immediately, even tiny ones. Small cracks let in water that freezes and expands, turning small problems into big ones fast. Keep tubes of concrete crack filler on hand for quick repairs.
In winter, avoid using rock salt on concrete. It causes surface damage called spalling. Use sand for traction instead, or choose calcium chloride if you must use a deicer.
Regular Inspections
Walk around your property a few times per year checking for new cracks, settling, or drainage issues. Catching problems early keeps repairs cheap.
Look for changes in how water flows after rain. New puddles indicate settling or grade changes. Address these issues promptly.
Keep vegetation trimmed back from concrete edges. Plant roots can grow under slabs and cause lifting. Tree roots are especially problematic – you might need root barriers if large trees sit close to concrete.
When to Call for Help Again
Even well-maintained concrete eventually needs attention. Call a professional if you notice cracks wider than a quarter inch, sections settling more than half an inch, or areas that keep cracking in the same spot.
If your "permanent" repair starts failing within a year or two, the underlying cause probably wasn't fixed properly. Don't just level again – figure out what's really wrong.
Foundation settling near your home requires immediate professional assessment. This isn't a DIY situation and waiting only makes it worse and more expensive.
Special Considerations for Different Areas
Different types of concrete require different approaches. What works perfectly for a garage floor might fail on vehicle surfaces. The location and use of your concrete determines which leveling method gives the best results. Let's look at the most common concrete areas and what they need.
Heavy Traffic Areas
Driveways take a beating from vehicle weight. Choose methods rated for heavy loads. Self-leveling compound works only if the settling is less than an inch and the soil beneath is stable. If you're dealing with significant settling on your driveway in Huntsville, foam injection or stone slurry provide the best long-term results. These methods support heavy loads without re-settling. Mudjacking works but might need redoing in 5-7 years.
Consider the age and condition of your vehicle paths. If the concrete is over 25 years old with lots of cracks, leveling might just delay the inevitable. Sometimes replacement makes more financial sense.
Outdoor Living Spaces
Patios and pool decks need special attention because they're highly visible and affect safety. Uneven pool decking creates trip hazards near water – a dangerous combination. Many homeowners invest in quality concrete patios in Huntsville to avoid these problems from the start.
Appearance matters more here than in garages or basements. Choose methods with small injection holes like foam rather than large mudjacking holes. Grinding works well for minor leveling of decorative concrete.
Pool decks often sink because water erodes the soil beneath them. Fix drainage and seal the concrete well to prevent repeat problems.
Walkways and Steps
Sidewalks and steps create liability issues when uneven. Anyone who trips can sue the property owner. Fix these promptly, even if you choose temporary solutions. Professional sidewalk installation in Huntsville from the start can help avoid leveling needs later.
Grinding works great for smoothing raised edges between sidewalk sections. For sunken sections, mudjacking or foam injection restore the proper slope for drainage.
Steps require precision. Each rise should match for safety. Even a quarter-inch difference can cause people to stumble. Foam injection's precision makes it ideal for steps despite the higher cost.
Garage and Basement Floors
Indoor concrete can use almost any leveling method. Since you're not fighting weather exposure, repairs generally last longer. Self-leveling compound works great here.
Garage floors with oil stains need extra cleaning before leveling. Use a concrete degreaser and let it dry completely. The leveling material won't stick to oily concrete.
Basement floors might have moisture issues from below. Test moisture levels first. If moisture is high, address the source before leveling or the repair will fail.
Final Thoughts
Leveling a concrete slab doesn't have to empty your wallet. Self-leveling compound costs just $1-2 per square foot for DIY projects and works great for minor settling. Mudjacking runs $3-6 per square foot and can lift entire slabs professionally. Both save you 50-70% compared to full replacement.
The cheapest method isn't always the best method. Match your choice to your situation. Small interior fixes work perfectly with DIY self-leveling compound. Large outdoor slabs with significant settling need professional lifting with mudjacking or foam. High-traffic areas worth extra investment benefit from premium foam injection that lasts decades.
Whatever method you choose, fix problems early. Small cracks and minor settling grow into major issues if ignored. A $300 repair now beats a $3,000 replacement later.
At Bulletproof Concrete, we understand the value of doing things right the first time. Our fiberglass-infused concrete in Huntsville technology creates slabs 122% stronger than traditional concrete, dramatically reducing future leveling needs. If you're in the Huntsville, Alabama area and want concrete built to last, contact us for a free estimate. We'll help you choose the right solution for your specific situation and budget.
Don't let uneven concrete keep creating problems. Whether you tackle it yourself or call professionals, addressing the issue now saves money, improves safety, and protects your property value for years to come.
C30 concrete is about 20% stronger than C25, so it handles heavier loads and tougher conditions with less cracking. C25 works great for most Huntsville driveways, patios, and sidewalks, while C30 is better for foundations, retaining walls, RV parking areas, and high-stress slabs where Alabama clay soil and weather can cause shifting over time.
Glass fiber reinforced concrete offers major benefits like higher tensile strength, better crack control, lighter weight, and long-term durability. The fibers create internal reinforcement throughout the slab, helping concrete resist stress, shrinkage, and weather damage, making it ideal for driveways, patios, and outdoor projects in North Alabama.
Fiberglass improves concrete strength by adding tiny fibers that reduce cracking and help the slab hold together under stress. It boosts durability, impact resistance, and shrink control, making it a smart choice for driveways, patios, and high-traffic concrete in Alabama weather.
Pouring new concrete over old is possible when the existing slab is clean, level, and structurally sound. Prep by degreasing, pressure washing, repairing small cracks, roughening the surface, and using a bonding agent. Pour the right thickness, finish well, and cure for long life. Avoid slabs that sink or have wide cracks early.

.png)
.png)
.png)

.png)
.webp)

.webp)